Are you looking for a fun and creative way to spruce up your costume or add a playful touch to your outfit? Bear ears DIY is the perfect project for you! Whether you're preparing for a themed party, a cosplay event, or simply want to express your creativity, crafting your own bear ears is an enjoyable and rewarding activity. This guide will walk you through everything you need to know about making bear ears from scratch, offering step-by-step instructions, tips, and tricks to ensure your project turns out just the way you imagined. Plus, we’ll explore how you can customize your bear ears to match your personal style or occasion.
Bear ears DIY projects are not only budget-friendly but also allow you to unleash your artistic flair. From selecting materials to adding the finishing touches, you’ll have complete control over the design process. Whether you’re a beginner or an experienced crafter, this guide caters to all skill levels, ensuring that anyone can create adorable bear ears with ease. By the end of this article, you’ll have a clear understanding of how to craft your own bear ears and the confidence to experiment with unique designs.
In this comprehensive guide, we’ll cover everything from the basic materials you’ll need to advanced customization techniques. You’ll also discover answers to common questions like "What materials are best for bear ears DIY?" and "How can I make my bear ears stand out?" Additionally, we’ll provide a detailed FAQ section to address any lingering doubts. So, grab your crafting supplies and get ready to dive into the world of bear ears DIY!
Read also:50 Shades Freed The Ultimate Guide To The Final Chapter Of The Fifty Shades Trilogy
Table of Contents
- What Materials Do I Need for Bear Ears DIY?
- Step-by-Step Guide to Making Bear Ears
- How Can I Customize My Bear Ears?
- Creative Ideas for Bear Ears DIY
- What Are the Common Mistakes to Avoid?
- How to Make Bear Ears DIY Stand Out
- Bear Ears DIY for Special Occasions
- FAQs About Bear Ears DIY
What Materials Do I Need for Bear Ears DIY?
Before diving into the crafting process, it’s essential to gather all the necessary materials for your bear ears DIY project. Having everything prepared in advance will make the process smoother and more enjoyable. Here’s a list of the basic materials you’ll need:
- Foam sheets or felt fabric in your desired color
- Headband or hair clips
- Hot glue gun and glue sticks
- Scissors
- Needle and thread (optional)
- Pencil or marker for tracing
- Decorative items like glitter, ribbons, or faux fur
Choosing the right materials is crucial for the durability and appearance of your bear ears. Foam sheets are lightweight and easy to shape, making them ideal for beginners. On the other hand, felt fabric offers a softer texture and can be sewn for a more polished look. If you’re aiming for a more realistic or luxurious design, consider incorporating faux fur into your project. It adds texture and depth, making your bear ears look more authentic.
Additionally, don’t forget to select a headband or hair clip that complements your design. A sturdy headband ensures that your bear ears stay in place throughout the day, while hair clips provide a more versatile option for different hairstyles. Once you’ve gathered your materials, you’re ready to move on to the next step: creating the base of your bear ears.
Step-by-Step Guide to Making Bear Ears
Preparing the Base
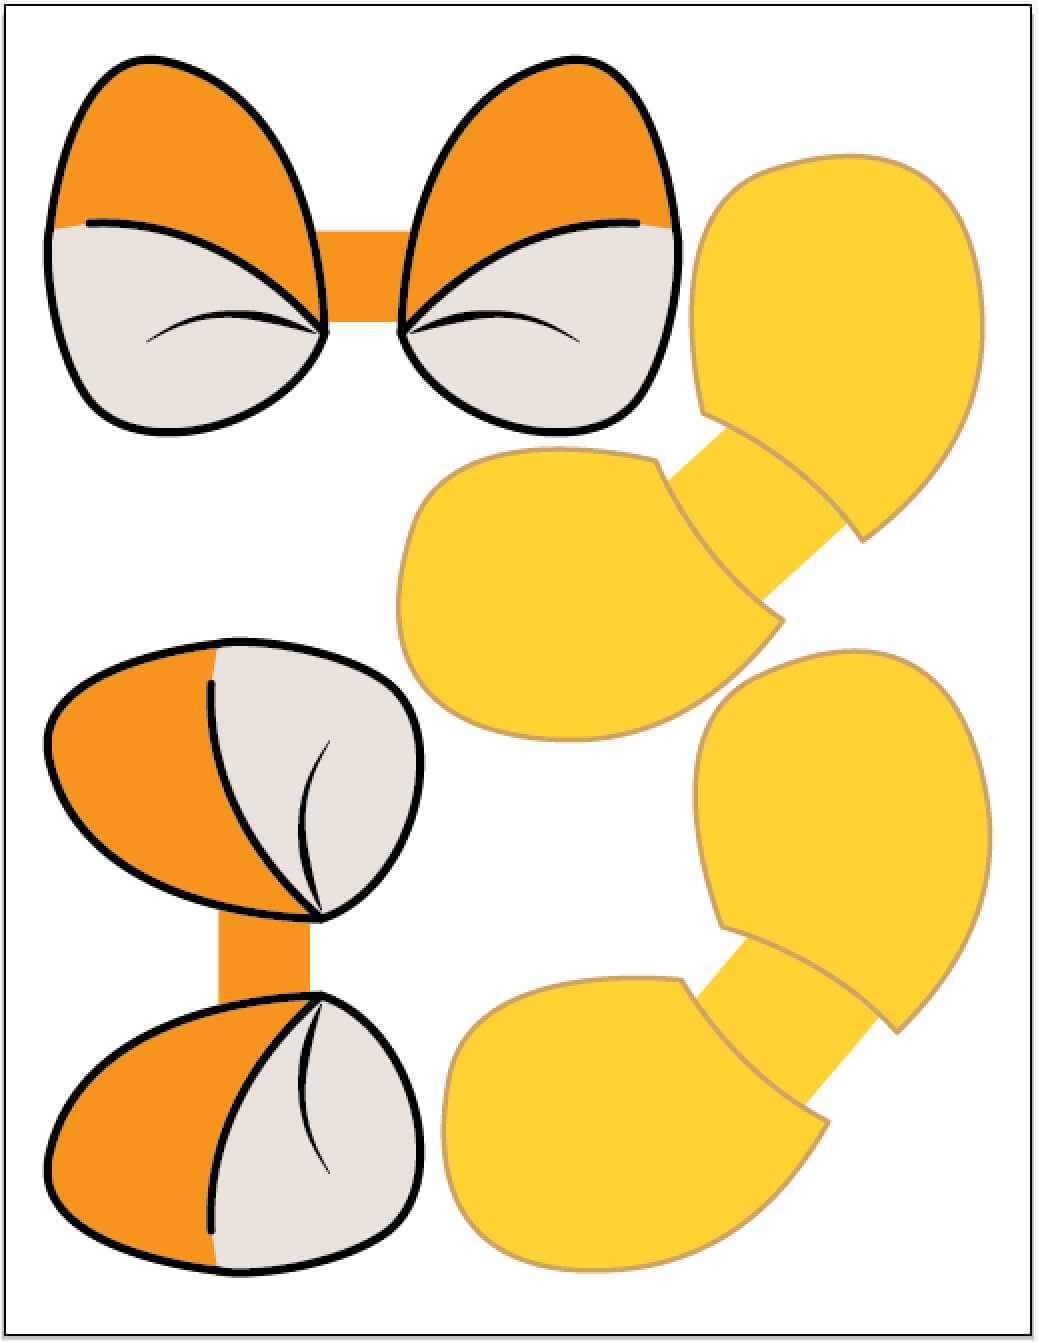
The first step in making bear ears DIY is preparing the base. Start by cutting two oval-shaped pieces from your foam sheet or felt fabric. These will serve as the foundation for your bear ears. Ensure that the ovals are symmetrical and proportionate to the size of the headband or hair clip you’re using. Once you’ve cut the ovals, fold each one in half to create a crease in the middle. This crease will help the ears stand upright when attached to the headband.
Next, attach the ovals to the headband using a hot glue gun. Position them slightly apart to mimic the natural placement of bear ears. Apply a generous amount of glue along the creased edge of each oval and press it firmly onto the headband. Hold it in place for a few seconds to ensure a secure bond. If you’re using a hair clip, attach the ovals directly to the clip using the same method.
Shaping the Ears
Once the base is ready, it’s time to shape the ears. Cut two smaller oval pieces from the same material and glue them onto the front of the larger ovals. These smaller pieces will give your bear ears a more defined and three-dimensional appearance. You can also use a needle and thread to stitch the smaller ovals onto the larger ones for added durability.
Read also:All You Need To Know About Chanplante Eye A Definitive Guide
To enhance the realism of your bear ears, consider trimming the edges slightly to create a rounded shape. This step is optional but can make a significant difference in the overall look of your project. Finally, add any decorative elements you’ve chosen, such as glitter or faux fur, to complete the design. Allow the glue to dry completely before wearing your bear ears.
How Can I Customize My Bear Ears?
Customization is where the fun truly begins in bear ears DIY projects. There are countless ways to personalize your bear ears to match your style or the theme of your event. For instance, you can experiment with different colors to create unique looks, such as pastel shades for a whimsical vibe or bold hues for a striking appearance. Adding embellishments like sequins, beads, or feathers can also elevate the design and make your bear ears stand out.
Another popular customization option is incorporating themed elements. For example, if you’re attending a Halloween party, you can add spooky details like spider webs or bats to your bear ears. Alternatively, for a winter-themed event, consider using white faux fur and adding snowflake patterns or glitter. The possibilities are endless, and the only limit is your imagination.
For those who enjoy a more minimalist aesthetic, you can keep the design simple by focusing on clean lines and subtle details. A monochromatic color scheme or a sleek, polished finish can create an elegant look that’s perfect for formal occasions. Regardless of your chosen style, customization allows you to make your bear ears truly one-of-a-kind.
Creative Ideas for Bear Ears DIY
If you’re looking for inspiration, here are some creative ideas to take your bear ears DIY project to the next level:
- Floral Bear Ears: Attach small fabric flowers or floral embellishments to the base of the ears for a feminine and playful touch.
- Glow-in-the-Dark Ears: Use glow-in-the-dark paint or fabric to create bear ears that light up in the dark, perfect for nighttime events.
- Animal-Inspired Ears: Experiment with different animal patterns, such as leopard spots or zebra stripes, to create unique designs.
- Festive Ears: Add holiday-themed decorations, such as red and green ribbons for Christmas or orange and black accents for Halloween.
- LED Bear Ears: Incorporate small LED lights into your design for a modern and eye-catching look.
These ideas can help you think outside the box and create bear ears that reflect your personality or the occasion you’re celebrating.
What Are the Common Mistakes to Avoid?
While bear ears DIY is a relatively simple project, there are a few common mistakes that beginners often make. Being aware of these pitfalls can help you avoid them and ensure a successful outcome:
- Using the Wrong Glue: Always use a hot glue gun for attaching materials, as regular glue may not provide a strong enough bond.
- Skipping Measurements: Failing to measure and cut your materials accurately can result in asymmetrical ears.
- Overloading Decorations: While embellishments are fun, adding too many can make the ears look cluttered and unbalanced.
- Not Allowing Glue to Dry: Rushing the drying process can cause the ears to fall apart or lose their shape.
- Ignoring Comfort: Ensure that the headband or hair clip is comfortable to wear for extended periods.
By keeping these tips in mind, you can create bear ears that are both visually appealing and functional.
How to Make Bear Ears DIY Stand Out
To make your bear ears DIY project truly stand out, focus on the details. Adding intricate embellishments, experimenting with textures, or incorporating unique color combinations can elevate your design. For example, layering different materials like faux fur and glitter fabric can create a dynamic and eye-catching look. Additionally, paying attention to the finishing touches, such as neatly trimming the edges or ensuring even glue application, can make a significant difference in the overall quality of your project.
Bear Ears DIY for Special Occasions
Bear ears DIY is an excellent choice for special occasions like birthdays, weddings, or themed parties. They can serve as fun accessories or even party favors for guests. For instance, you can create personalized bear ears for each guest at a baby shower or bridal event, adding their names or favorite colors to the design. This thoughtful gesture is sure to leave a lasting impression.
FAQs About Bear Ears DIY
How Long Does It Take to Make Bear Ears DIY?
On average, it takes about 30 minutes to an hour to complete a basic bear ears DIY project. However, more intricate designs may require additional time.
Can I Use Bear Ears DIY for Kids?
Absolutely! Bear ears DIY is a safe and fun activity for kids, provided adult supervision is available when using tools like scissors or a hot glue gun.
What Are Some Alternative Uses for Bear Ears DIY?
Bear ears DIY can be used as photo booth props, costume accessories, or even home decor items. Their versatility makes them a great addition to any creative project.
In conclusion, bear ears DIY is a fun, creative, and customizable project that anyone can enjoy. Whether you’re crafting for a special occasion or simply looking to express your creativity, this guide has provided all the tools and inspiration you need to get started. Happy crafting!
For more crafting ideas, check out this external resource on DIY projects.