Transforming your home with a DIY door arch can be a rewarding and creative project that adds elegance and charm to any space. Whether you're renovating your home or simply looking to add a touch of sophistication, a door arch can serve as a beautiful architectural feature. From choosing the right materials to mastering the installation process, this guide will walk you through every step of creating your own door arch. Not only does this project enhance your home's aesthetics, but it also allows you to express your personal style and craftsmanship.
A door arch isn't just about aesthetics; it can also improve the flow of your interior design by creating a seamless transition between rooms. By incorporating a DIY door arch, you can make a bold statement while maintaining functionality. This project is perfect for homeowners, DIY enthusiasts, or anyone eager to learn new skills. With the right tools and guidance, you'll be able to complete this project efficiently and with confidence.
Before diving into the details, it's important to understand the basics of what makes a door arch both functional and visually appealing. From selecting the right design to ensuring structural integrity, every decision plays a role in the final outcome. In this article, we will explore the essential steps, tools, and tips to help you create a DIY door arch that not only meets your expectations but also enhances the overall appeal of your home.
Read also:Why The Otter Oasis Dog Crate Is A Musthave For Pet Owners
Table of Contents
- Why Choose a DIY Door Arch?
- What Are the Benefits of a Door Arch?
- How to Plan Your DIY Door Arch Project?
- Essential Tools and Materials for Your DIY Door Arch
- Step-by-Step Guide to Building a DIY Door Arch
- How to Finish and Decorate Your DIY Door Arch?
- Common Mistakes to Avoid When Building a DIY Door Arch
- Frequently Asked Questions About DIY Door Arches
Why Choose a DIY Door Arch?
Choosing to create a DIY door arch is a decision that combines practicality with creativity. Unlike pre-made arches, a DIY project allows you to customize every aspect of the design to fit your home's unique style. Whether you prefer a rustic wooden arch or a sleek, modern metal design, the possibilities are endless. This level of customization ensures that your door arch will be a one-of-a-kind feature that reflects your personal taste.
Another compelling reason to opt for a DIY door arch is the cost-effectiveness of the project. Purchasing a pre-fabricated arch can be expensive, especially if you're looking for something unique. By taking the DIY route, you can save money while gaining the satisfaction of knowing that you built something with your own hands. Additionally, this project is a great opportunity to learn new skills and gain confidence in your ability to tackle home improvement tasks.
Finally, a DIY door arch can increase the value of your home. Potential buyers are often drawn to homes with unique architectural features, and a well-crafted arch can be a standout element. Whether you're planning to sell your home in the future or simply want to enhance its current appeal, a DIY door arch is a worthwhile investment.
What Are the Benefits of a Door Arch?
A door arch offers numerous benefits that go beyond its visual appeal. One of the most significant advantages is the way it can transform the flow of a room. By eliminating sharp corners and creating a smooth transition between spaces, a door arch can make your home feel more open and inviting. This is particularly beneficial in smaller spaces where a traditional door frame might feel cramped or restrictive.
In addition to improving the flow of your home, a door arch can also enhance its architectural character. Whether you're aiming for a Mediterranean-inspired look or a minimalist modern design, an arch can serve as a focal point that ties the room together. It can also be used to highlight specific areas of your home, such as an entryway or a dining room, adding a touch of elegance and sophistication.
From a practical standpoint, a door arch can also improve the functionality of your space. For example, it can make it easier to move furniture or large items between rooms, as there are no doorjambs to navigate. This can be especially useful in homes with an open floor plan, where seamless transitions are key to maintaining a cohesive design.
Read also:Best Black Friday Deals For Teens Top Picks And Musthaves
How to Plan Your DIY Door Arch Project?
Planning is a crucial step in any DIY project, and creating a door arch is no exception. The first thing you'll need to do is decide on the style and design of your arch. Consider the overall aesthetic of your home and choose a design that complements it. For example, a rounded arch might work well in a traditional home, while a more angular design could suit a contemporary space.
Once you've settled on a design, it's time to take measurements. Measure the width and height of the doorway where you plan to install the arch. Be sure to account for any existing trim or molding that you might want to incorporate into the design. These measurements will guide you in selecting the right materials and tools for the project.
Finally, create a detailed plan or blueprint of your arch. This will serve as a roadmap for the construction process and help you anticipate any challenges that might arise. If you're unsure about any aspect of the design, consider consulting with a professional or seeking advice from online forums and tutorials. Proper planning will ensure that your DIY door arch project goes smoothly and results in a beautiful, functional feature for your home.
Essential Tools and Materials for Your DIY Door Arch
Before you begin building your DIY door arch, it's important to gather all the necessary tools and materials. Having everything on hand will make the process more efficient and help you avoid unnecessary delays. Here's a list of the essential items you'll need:
- Materials:
- Wooden boards or MDF (medium-density fiberboard)
- Plywood for the curved section
- Screws, nails, and wood glue
- Sandpaper for smoothing surfaces
- Tools:
- Circular saw or jigsaw for cutting materials
- Measuring tape and pencil
- Level to ensure straight installations
- Clamps to hold pieces in place during assembly
Choosing the right materials is key to the success of your project. For example, if you're aiming for a rustic look, reclaimed wood might be the perfect choice. On the other hand, if you're going for a more polished finish, MDF or plywood could be better suited to your needs. Be sure to select materials that are durable and can withstand the wear and tear of daily use.
In addition to materials, having the right tools is equally important. A jigsaw is particularly useful for cutting the curved sections of the arch, while a circular saw can handle straight cuts with precision. Don't forget to invest in high-quality sandpaper to ensure that your finished arch is smooth and free of splinters. With the right tools and materials, you'll be well-equipped to tackle this project with confidence.
Step-by-Step Guide to Building a DIY Door Arch
Measuring and Cutting the Materials
The first step in building your DIY door arch is to measure and cut the materials to the correct dimensions. Begin by marking the measurements on your wooden boards or plywood. Use a pencil and a measuring tape to ensure accuracy. For the curved section of the arch, you can use a flexible strip of wood or a piece of string to trace the curve onto the plywood.
Once you've marked the materials, it's time to cut them. Use a jigsaw to carefully cut along the lines you've drawn. Take your time to ensure that the cuts are smooth and precise. If you're working with reclaimed wood, be sure to remove any nails or screws before cutting to avoid damaging your tools.
After cutting the materials, use sandpaper to smooth any rough edges. This will not only improve the appearance of your arch but also make it safer to handle. Pay special attention to the curved section, as this is where splinters are most likely to occur. Once the materials are cut and sanded, you're ready to move on to the next step.
Assembling the Arch Frame
With your materials prepared, it's time to assemble the frame of your DIY door arch. Begin by attaching the vertical side pieces to the doorway using screws or nails. Use a level to ensure that the pieces are straight and evenly aligned. Once the side pieces are securely in place, attach the curved section to the top of the frame.
To hold the pieces together during assembly, use clamps to keep everything in place. This will make it easier to secure the joints with screws or nails. Apply wood glue to the joints for added strength and stability. Allow the glue to dry completely before removing the clamps.
Once the frame is assembled, inspect it for any gaps or uneven areas. Use wood filler to fill in any gaps and sand the surface smooth. This will create a seamless finish and ensure that your arch is structurally sound. With the frame complete, you're ready to move on to the finishing touches.
How to Finish and Decorate Your DIY Door Arch?
Finishing and decorating your DIY door arch is where you can truly let your creativity shine. Start by applying a coat of primer to the entire structure. This will help the paint or stain adhere better and provide a smooth, even finish. Once the primer is dry, you can choose to paint the arch in a color that complements your home's decor or apply a wood stain for a natural look.
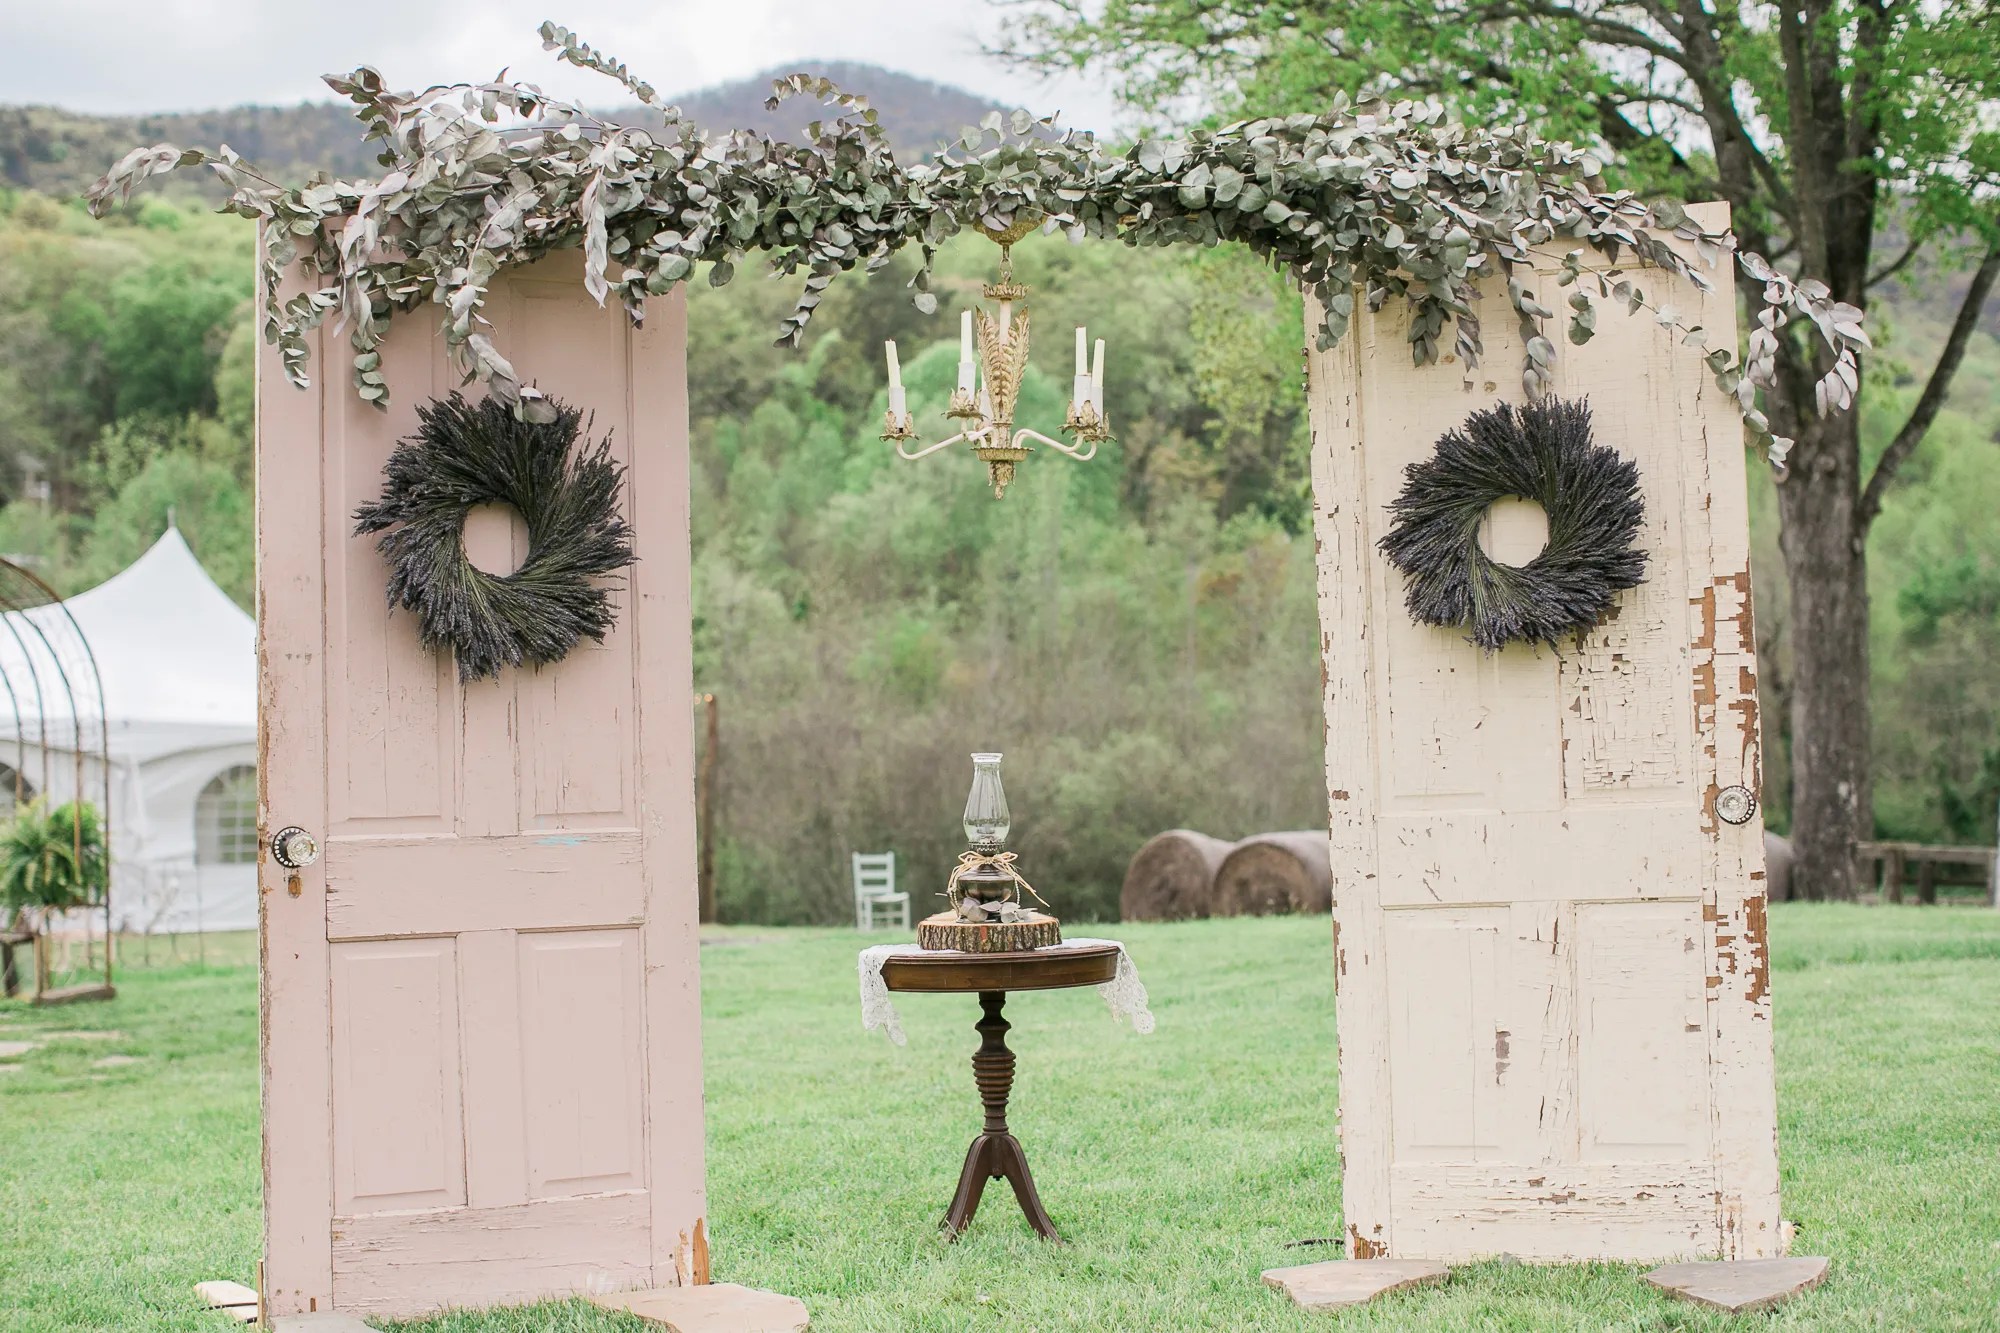
For added flair, consider adding decorative trim or molding to the edges of the arch. This can enhance the architectural details and give your arch a more polished appearance. You can also incorporate lighting, such as string lights or LED strips, to highlight the arch and create a warm, inviting ambiance.
Finally, don't forget to accessorize! Hanging artwork, plants, or other decorative items near the arch can further enhance its visual appeal. By combining functionality with creativity, you can create a DIY door arch that not only serves its purpose but also becomes a standout feature of your home.
Common Mistakes to Avoid When Building a DIY Door Arch
While building a DIY door arch is a rewarding project, there are some common mistakes that can derail your efforts if you're not careful. One of the most frequent errors is failing to take accurate measurements. Even a small discrepancy can lead to an ill-fitting arch, so double-check your measurements before cutting any materials.
Another mistake to avoid is rushing the assembly process. Taking your time to ensure that each piece is securely attached will result in a more durable and professional-looking arch. Skipping steps like sanding or applying wood filler can also compromise the quality of your finished project, so be sure to follow each step carefully.
Finally, don't overlook the importance of finishing touches. A poorly painted or unfinished arch can detract from its overall appearance. By paying attention to detail and avoiding these common pitfalls, you can ensure that your DIY door arch is a success.
Frequently Asked Questions About DIY Door Arches
What Tools Do I Need for a DIY Door Arch Project?
To build a DIY door arch, you'll need tools like a jigsaw, measuring tape, level, clamps, and sandpaper. These tools will help you cut, assemble, and finish the arch with precision.
How Long Does It Take to Build a DIY Door Arch?
The time required to build a DIY door arch depends on your experience and the complexity of the design. On average, it can take anywhere from a few hours to a full day to complete the project.
Can I Install a DIY Door Arch Myself?